Since it is supposed to be WIP wednesday and my only WIP is a pair of socks that is taking forever and more I decided to make more WIP project bags because every knitter/crocheter needs more bags to keep those naughty WIPs in check (oh and more bags never hurt anyone did they?)
I was inspired by all the lovely Bias Tape bags but decided I wanted something deeper and with more closure but without actually using a magnetic snap or a zipper. So after a couple of trials I present you with the WIP Biased Project Bag.
Here is a tutorial on how to make your own
| First Make sure you have all your materials ready
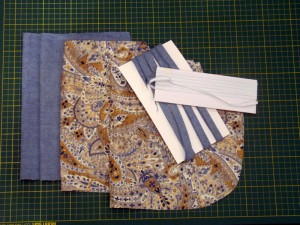
You are going to need fabric for the outer and lining part of the bag. The pattern which you can download WIPBiasedProjectBag About 40 inches of bias tape. If you want longer handles you will need more 10 inches of elastic Patience and about an hour of your time (more if you are going to make your own bias tape) Print out the pattern, tape it and cut it out. First cut 2 pieces from the outer fabric and 2 pieces from the lining. Don’t forget to cut on the fold where the pattern says you should. |
 |
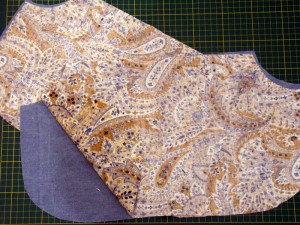
| Place one piece of lining and one piece of outer right sides together and sew together at the top straight line.
Repeat for the other pieces of lining and outer fabrics. |
 |
| Turn them inside out and press the top seam (you could skip the pressing but trust me, it will make your bag so much better and easier to sew the elastic casing in the next step) | 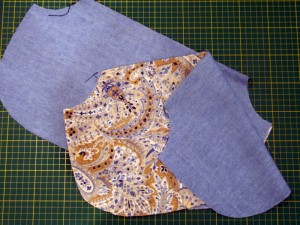 |
| Sew a straight line across the top slightly wider than your elastic. This will be your elastic casing for the top of the bag. | 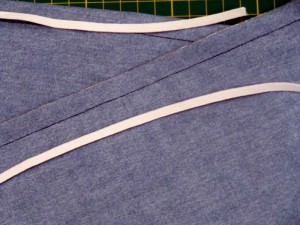 |
| Insert the elastic and sew at each end so it doesn’t move. Remember to back stitch a couple of stitches on top of the elastic so it is nice and secure. | 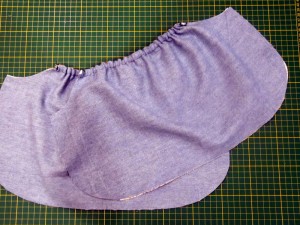 |
| Open the pieces so that the two right sides of the outer fabric are facing and the two right sides pieces of the lining are facing each other. Sew the curves base of the bag for the lining and the outer. Make sure you do not sew the curved sides | 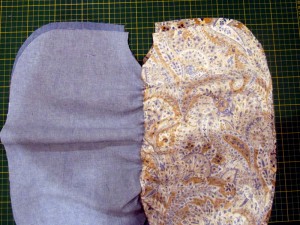 |
| I added this picture so you can see where the stitching starts and it should end at the same point on the other side. | 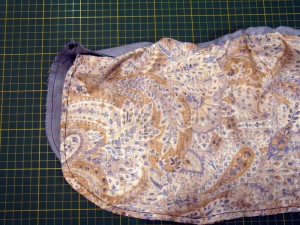 |
| Turn the bag right side out so the lining is inside the outer fabric part of the bag. It is starting to come together, we’re almost there. | 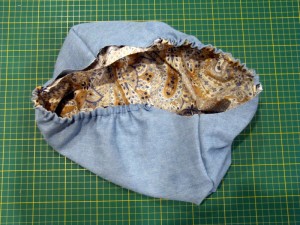 |
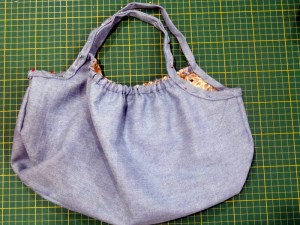
| Starting at one of the side seams start pinning your bias tape. Keep going until the edge where the elastic starts, make sure the bias tape properly covers the edge and then pin the bias tape together to make the first handle. When the handle is as long as you would like start pinning the bias tape again. Make sure that both handles are the same size and pin to the other side.
Now sew that bias tape togther |
 |
| Congratulations! If you are still here that is. You have a new WIP bag. Now run along now and make something amazing | 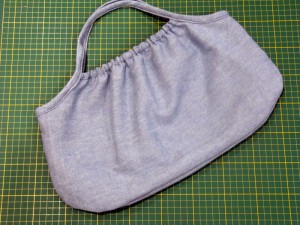 |
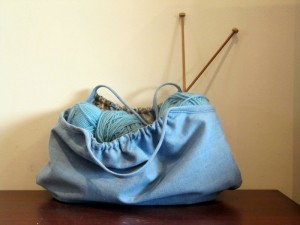
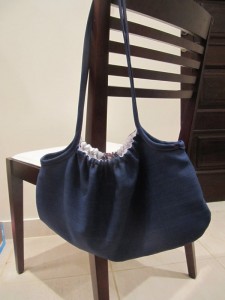
If you do make one I would love to see it. You can upload your pictures to this Flickr Group.
Happy Making!


This is lovely and easily doable. Thank you for sharing the pattern.
Thank you
I think I need to make one of these – my half finished crochet project is currently spilling out of an old shoebox! Thanks for sharing the pattern and tutorial.
I think I have more project bags than I could ever have WIPs 🙂 I should start some more crochet and knitting projects
Can you give me the measurements of the patterns. They print on one sheet each and are too small to be the accurate size. If I know how big it’s suppose to be, I can take it to the copy store and have it enlarged. Thanks for the pattern; it’s great.
Yes it does print out on a single page. It is a smallish bag. You could scale it larger if you want it to be bigger.