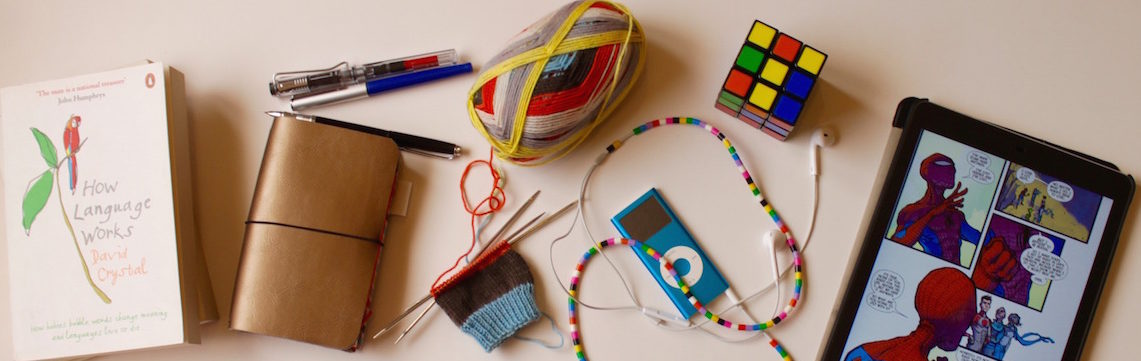
I can’t remember how I discovered the Midori Traveler’s Notebook, but it was on a YouTube video that I saw the notebook and fell in love with the concept. Basically it is a leather cover, with elastic bands that will hold on to your notebooks that can be removed when you are done with them. In September of 2013 I discovered bullet journal-ling and it was the best thing ever. I used that notebook for everything. I kept notes for patterns, wishlists, meal plans and everything you can imagine. My problem wasn’t with the system but with the notebook I was using, it was quite large and it was bulky in my bags. It also got boring after a while.
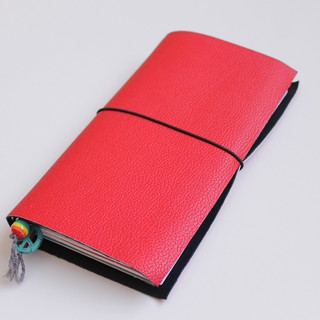
 This is why I love the Midori system. I didn’t buy an original because it seemed too expensive and I wasn’t sure if I would want to commit to it or not. I also knew it would take ages for it to arrive by mail, so I decided to make my own. There are lots of great tutorials out there, I watched 5 or 6 of them. (Just google DIY Fauxdori) and made 3 before this one and realized I had a winner. The cover is made using two pieces of faux leather. I did order real leather but it will take a month before it gets here and since the covers can be easily removed, it will be easy to just switch it out. It is also perfect for crafters because you can have a notebook for each craft or even print out knitting paper to use it to chart knitting patterns, the options are truly endless.
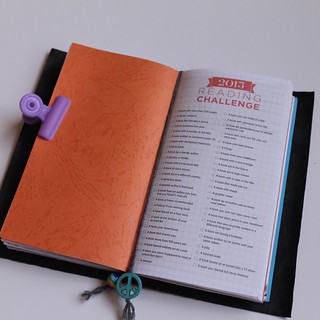 I also made my own inserts. Ray has tons of super great ones you can print for yourself. DIYFish has great ones too on her Etsy shop and on her blog. I didn’t make my fauxdori using the exact size as the MTN, I made it so I could fold an A4 sheet in half lengthwise and cut so I would have two notebooks, one for me and the other one is a short one that I give to my daughter for her Fauxdori, yes I made her a tiny one just for her. This way is less wasteful and easier to cut, print and saddle stitch together. I also got a grid paper notebook, the kind that has the pages glued together at the top and print on the pages to use less ink. I have a blank one for my bullet journal. The one above is for my 2015 reading challenge. Last year I aimed for 52 books on GoodReads and managed to read more, this year I found the PopSugar challenge that gives you different categories of books, which makes it more interesting, so I made an insert just for that, with the first page as the challenge and the rest of the pages as review pages.
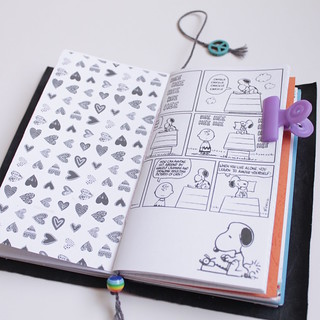
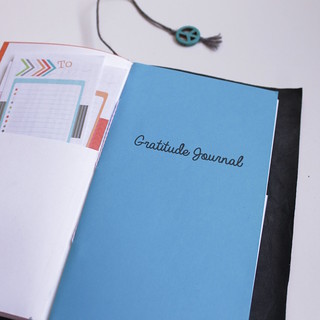
 I also added a gratitude journal, a couple of months ago I started adding a gratitude page in my bullet journal, it was just a page at the beginning of the month where I would write what I was grateful for on that day, this is easy and also a healthy reminded of the good things in life even if they are small.
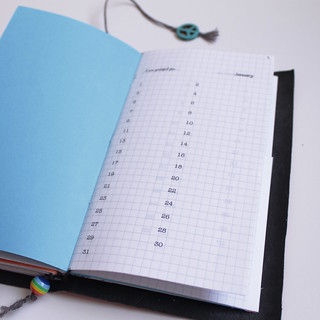 And of course a calendar, I figured this would make more sense than having the calendar inside the bullet journal since I would be changing the bullet journal notebook when it was full, this way my entire year is in the same place.
 Here it is all full of my inserts, there is also one that is just for doodling and journal-ling. I made two bookmarks by braiding some yarn and adding beads at the end and looping it around the top of the middle elastic. It just makes finding the pages I want fast access to easier.

And of course I needed a place to store unused notebooks. This one is cute but I need a bigger one, so I am patiently waiting for all the cereal to be eaten so I can use the box.
 It took a couple of weeks until I figured out the best way to make this system work for me, so if you are going to try it out, give it some time. I also made the first one using just one layer of faux leather and interfacing and some fabric, the fabric kept fraying, then I tried it without the interfacing or fabric and it was too flimsy, my next try was gluing it to craft foam, which was great, but it kept getting indented and dirty really quick. Experiment and try different things.
[…] faux leather. Half metres actually, but in 5 different colors because I wanted to make some more fauxdoris. I still have lots left over and was wondering what else I could use the faux leather for, so […]
Yay love this. Where did you get the reading challenge insert? thats super cool. Good job
I made it myself
Love this..
Trying to decide where to go next from my Fauxbonichi …I’d also like to know where the reading challenge list is from. TFS!
I made it myself, there is a group on faceboom called the Midori Traveler’s Notebook resources that might be useful
You tell us what you tried that didn’t work for you so I’m curious what combo did you find worked best when making the cover?
Right now I am using a real leather cover. I bought a small piece and cut it myself. But two layers of faux leather glued together also works really well, but use spray glue so you get an even layer then let it dry under a heavy book so it is nice and flat.
Hi,
Great job. Just curious what are the headings from your book review.
Chris
Thanks Chris,
I have title, author, category (for the challenge), date started, date finished, rating stars and a section for the review.
[…] How to make your own Midori (Fauxdori) Traveler’s Notebook […]