I know this isn’t really craft related but it is craft blogging related. I love Instagram. The only problem with it is that you only get one link to share. This helps Instagram stay relevant and free from crazy stuff and links but it does make…
I know this isn’t really craft related but it is craft blogging related. I love Instagram. The only problem with it is that you only get one link to share. This helps Instagram stay relevant and free from crazy stuff and links but it does make…
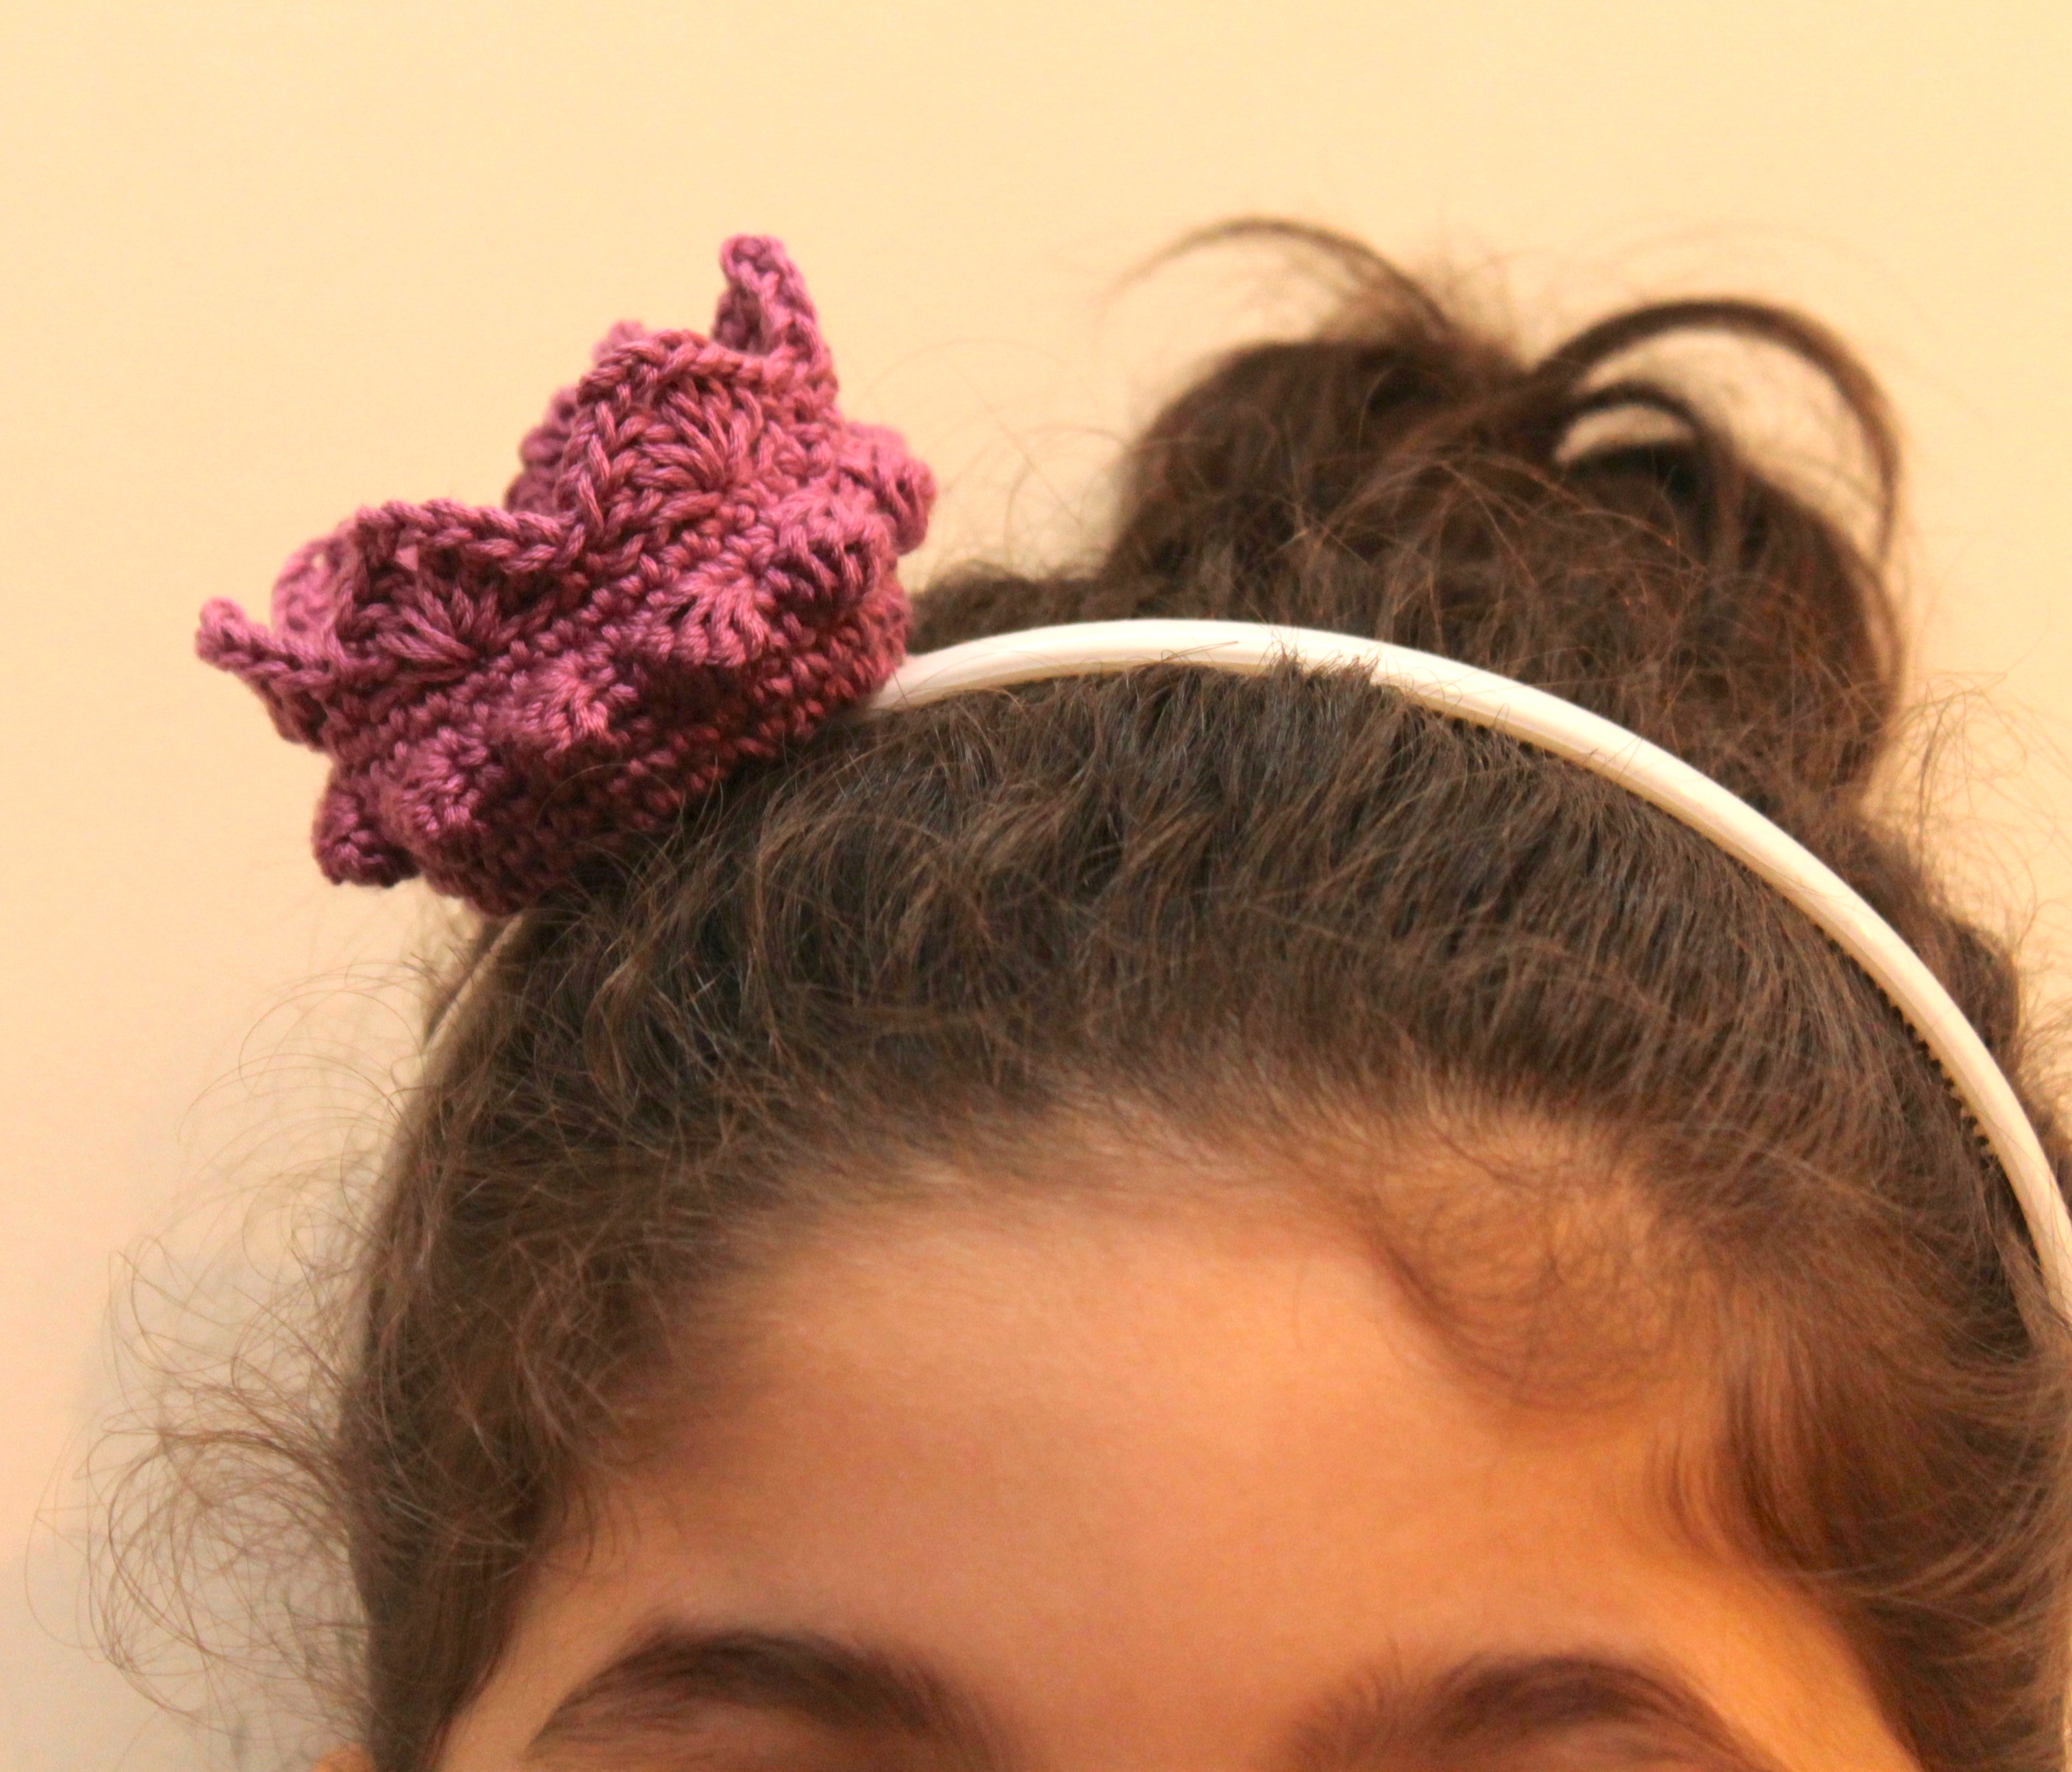
Not for lack of WIPs, I just made something new. It is a problem I assure you. Here I was sitting knitting on my second color affection when I thought to myself. “Crowns!” I need to crochet a crown. I also need it to be a…
I am loving the doll frenzy I am into right now. I am a little bit OCD when it comes to details. I want the hair to be perfect. Or at least look like good hair (when perfection is impossible). I did a lot of researching…
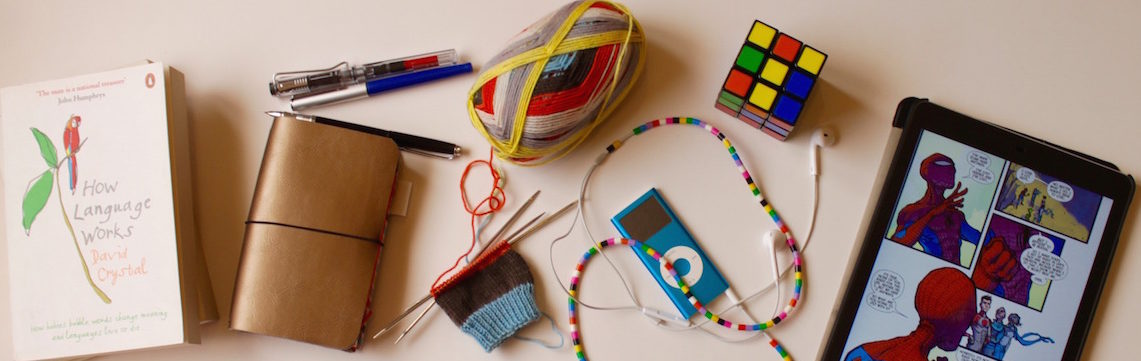
I love reading, but I probably love bookmarks and collecting them just as much. Apparently my little girl loves these things too. She is almost 6 now but she will always grab my books, pretend to read them and then take my bookmark. And I don’t…
I am on a diy jewelry kick. I love making these quick accessories that I can wear right away. This is a simple bangle covered with a knitted icord using leftover fingering weight yarn. You will need: Leftover fingering/sock weight yarn (variegated yarn works great) A…
No body wants to hug a DPN right? They’re skinny and sharp at both ends. And they are know for running away and leaving your socks in the middle of a WIP, well at least mine do. And I am not exactly a fan of picking…
I have a shawl to finish, so instead of working on it, I made bookmarks The pictures are quite self explanatory. Crochet a flower, square or whatever motif you life. Cut out a peice of felt for the back and cut elastic that is long enough…