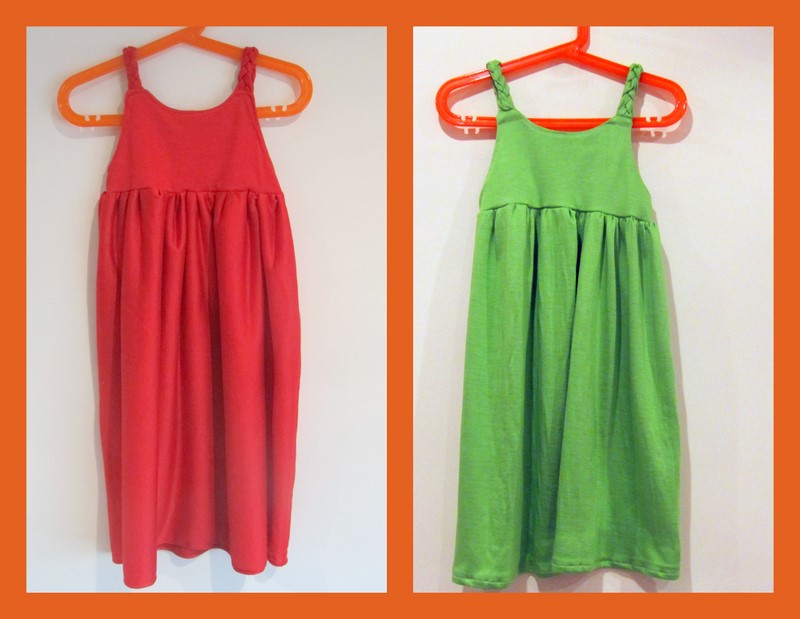
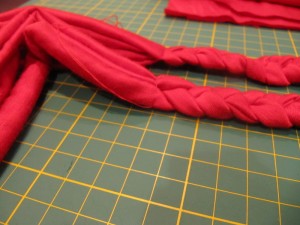
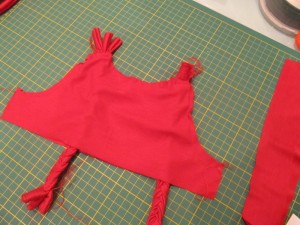
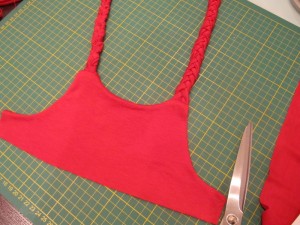
It all started with ElsieMarley’s Kids Clothes Week Challenge. I do my sewing in the mornings when the little one is at nursery because we all know how sewing machine’s are like magnets to the little people and I already sew a good number of outfits for her because kid’s clothing is so much easier and faster to sew than my clothing. So I thought I’d challenge myself a little bit more and create my own pattern roughly based on something similar to one of her dresses. My mother was here a few weeks ago and got her a lovely cotton maxi dress. My initial reaction to a maxi dress on a three year old was eek! But actually it turned out really cute on her and she loved it. I found a lovely green soft t shirt knit which reminded me of green apples and set out to make a dress. It was such a hit that I hand washed it two nights in a row so she could wear it the next day. And then I got the red fabric to make another one. The braided straps add simple detailing that makes it even cuter. I am already planning to crochet the edge of one to see how that goes.
Want to make your own dress?
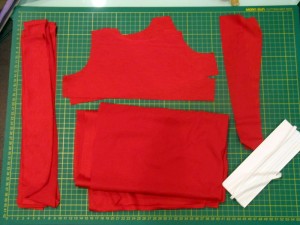
You will need about a metre of fabric
The pattern for the PickApplesDress this fits a 3 – 4T and I am guessing you can scale it if you want a smaller or larger size.
and some free time.
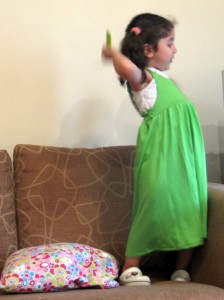 And here she is showing off her dress. My daughter is difficult to photograph, she is more interested in taking pictures and rarely sits still anyway but I am sure most kids are.
It all started with ElsieMarley’s Kids Clothes Week Challenge. I do my sewing in the mornings when the little one is at nursery because we all know how sewing machine’s are like magnets to the little people and I already sew a good number of outfits for her because kid’s clothing is so much easier and faster to sew than my clothing. So I thought I’d challenge myself a little bit more and create my own pattern roughly based on something similar to one of her dresses. My mother was here a few weeks ago and got her a lovely cotton maxi dress. My initial reaction to a maxi dress on a three year old was eek! But actually it turned out really cute on her and she loved it. I found a lovely green soft t shirt knit which reminded me of green apples and set out to make a dress. It was such a hit that I hand washed it two nights in a row so she could wear it the next day. And then I got the red fabric to make another one. The braided straps add simple detailing that makes it even cuter. I am already planning to crochet the edge of one to see how that goes.
Want to make your own dress?
You will need about a metre of fabric
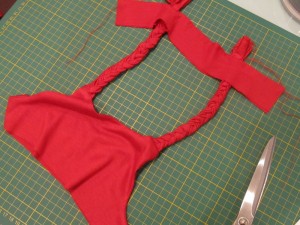
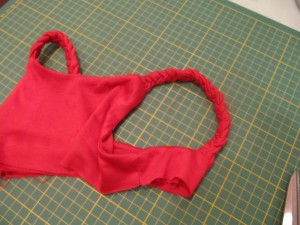
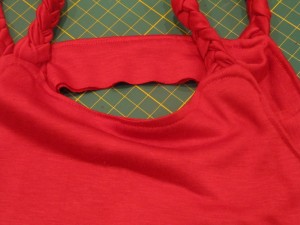
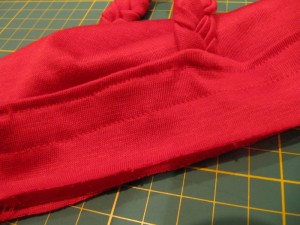
TheMaxiBraidedDress.
and some free time.

I just love it! so cute and your directions are awesome! I want to make one for my youngest daughter–just as soon as I finish all of the other WIP in my pile :o) with 4 kids and all thigs build up!
Hi I love the dress and i am learning too crochet love the site the box like above how do i get rid of it too look at your tutes feel so stupid about this . renee thanx so much for the site showing us your work and ideas
thanks
what a darling in a darling dress! great and easy design. thank you for sharing/being inspirational!
Thank you 🙂